absolute plumbing Inc.
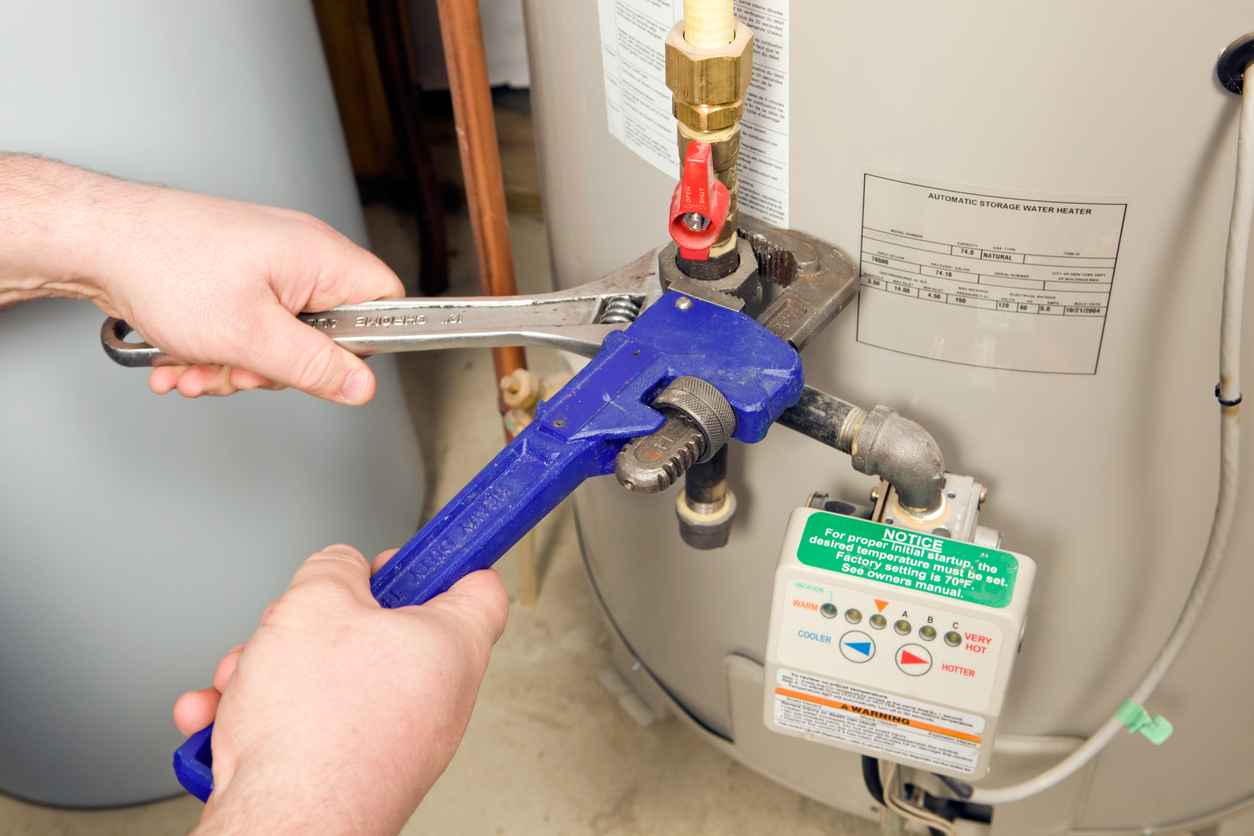
How to Flush a Water Heater
Your water heater plays a crucial role in delivering hot water for your daily needs, whether it’s for showers, washing dishes, or doing laundry. Over time, however, sediment and mineral deposits can accumulate inside the tank, which may reduce the efficiency of your water heater and shorten its lifespan. Regularly flushing your water heater can help maintain its performance and extend its life.
In this blog, we’ll walk you through the process of flushing your water heater step by step, ensuring it runs efficiently for years to come.
Why Flushing Your Water Heater is Important
Flushing your water heater is essential because sediment and mineral deposits settle at the bottom of the tank over time. This build-up can lead to several problems, including:
- Reduced Efficiency: The sediment layer forces your water heater to work harder to heat the water, leading to higher energy bills.
- Clogged Valves: Sediment build-up can clog valves and other components, reducing water flow and potentially damaging the system.
- Shortened Lifespan: The added strain on your water heater from sediment can cause the system to wear out more quickly, requiring expensive repairs or replacements.
Regular flushing is a simple maintenance task that can help prevent these issues and keep your water heater functioning efficiently.
Step-by-Step Guide to Flushing a Water Heater
For most homes, it’s recommended to flush your water heater once a year. However, if you live in an area with hard water, where mineral content is higher, you may need to flush it more frequently—about every six months.
Step 1: Turn Off the Water Heater
If you have a gas-powered water heater, turn off the gas supply by switching the gas valve to the “pilot” position. For electric water heaters, turn off the power at the circuit breaker. This step ensures your safety while performing maintenance on the water heater.
Step 2: Shut Off the Cold Water Supply
Locate the cold water supply valve on top of the water heater and turn it off. This will prevent additional water from entering the tank while you’re draining it.
Step 3: Connect a Hose to the Drain Valve
At the bottom of your water heater, you’ll find a drain valve. Attach a garden hose to the valve and run the other end of the hose to a floor drain, outside, or into a bucket. Make sure the hose is secure to avoid any accidental leaks.
Step 4: Open the Pressure Relief Valve
To allow the water to flow out more easily, open the pressure relief valve located on the top or side of your water heater. This will help release pressure inside the tank and allow air to flow in as water flows out.
Step 5: Drain the Tank
Once everything is set up, open the drain valve at the bottom of the tank. Water will start flowing through the hose. Be cautious, as the water may still be hot. Let the water drain until the tank is empty. This process may take a few minutes, depending on the size of your tank.
Step 6: Flush Out the Remaining Sediment
After the tank has drained, briefly turn the cold water supply back on while keeping the drain valve open. This will help flush out any remaining sediment at the bottom of the tank. Let the water run for a few minutes until the water coming out of the hose is clear.
Step 7: Close the Valves and Refill the Tank
Once the water runs clear, close the drain valve and remove the garden hose. Then, close the pressure relief valve. Next, turn the cold water supply back on and allow the tank to fill with water.
Step 8: Turn the Water Heater Back On
Once the tank is full, turn your water heater back on. For gas-powered units, switch the gas valve back to the “on” position. For electric models, restore power at the circuit breaker. Allow the water heater to heat up, and check for any leaks or issues.
Water Heater Services in Flower Mound, TX
Flushing your water heater is a simple but important task that helps maintain efficiency and extends the life of your system. By following these steps, you can reduce the risk of build-up and costly repairs down the line.
If you’re unsure about how to flush your water heater or prefer to leave the task to professionals, Absolute Plumbing in Flower Mound, TX, is here to help. Contact us today for all your water heater needs, from maintenance to repair and installation.
Recent News
Why North Texas Homes Experience More Pipe Leaks in Winter and Early Spring
Why Your Water Heater Struggles More During Winter in Flower Mound
How Soil Shifting in North Texas Impacts Sewer Lines and Drains
Gas Line Safety in Texas Homes: What to Do Before Cold Weather Arrives
Inside a Plumbing Inspection: What We Check and Why It Matters
Eco-Friendly Plumbing Upgrades That Save Money During the Colder Months
