Thank you for nominating us! We made the final round of Best of Denton County. Vote for us here
How to Clean a Kitchen Faucet
absolute plumbing Inc.
Back to Blog
How to Clean a Kitchen Faucet
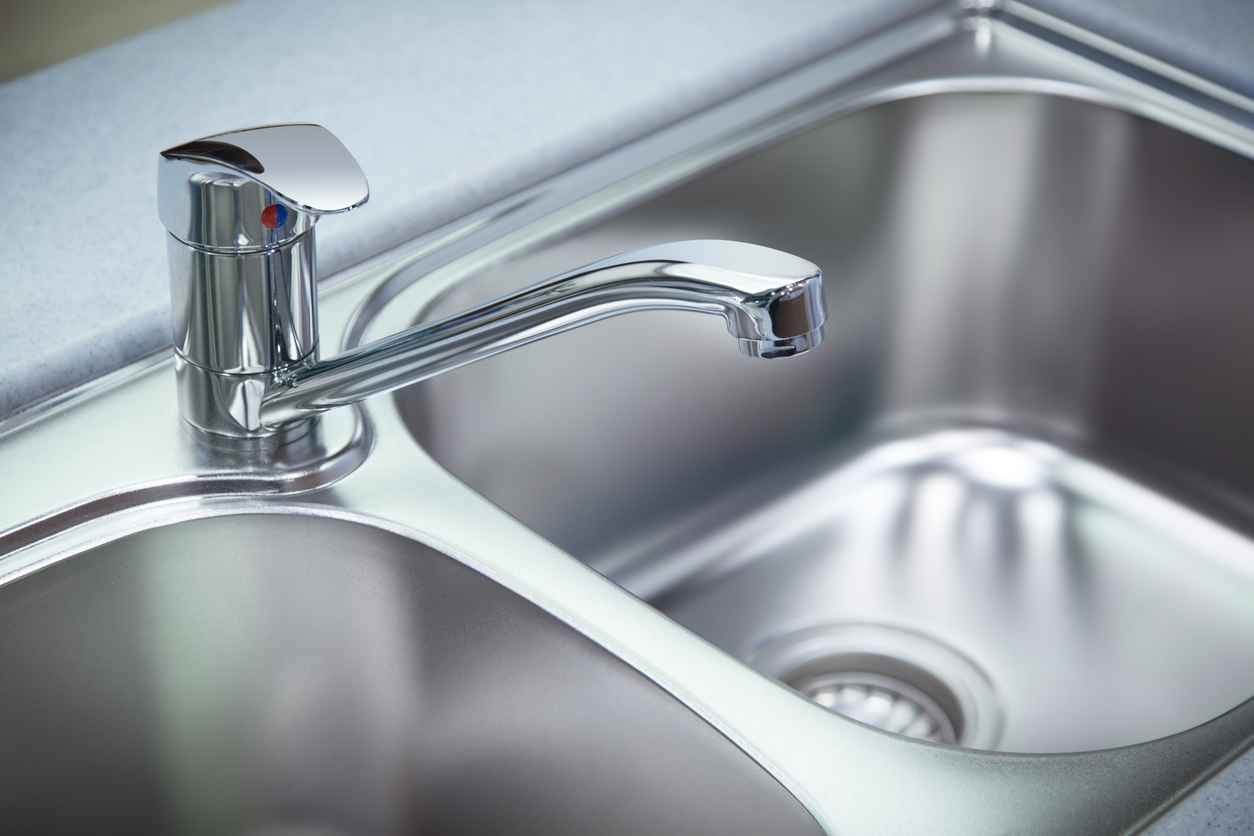
A clean faucet not only improves the appearance of your kitchen but also ensures proper water flow and functionality. Over time, grime, mineral deposits, and bacteria can build up, leading to unsightly stains and even clogged aerators. In this guide, we’ll walk you through how to effectively clean your kitchen faucet and maintain its shine and efficiency.
Step 1: Gather Your Cleaning Supplies
Before you start, gather the necessary cleaning tools and supplies:
- Dish soap or mild detergent
- White vinegar
- Baking soda (optional for stubborn stains)
- Old toothbrush or soft brush
- Soft cloth or sponge
- Plastic bag (for deep cleaning the aerator)
With these supplies on hand, you’re ready to tackle every part of the faucet.
Step 2: Clean the Exterior Surface
Start by cleaning the exterior of the faucet to remove surface grime and fingerprints.
- Mix a Cleaning Solution: Combine warm water with a few drops of dish soap.
- Wipe Down the Faucet: Dip a soft cloth into the soapy water and gently scrub the entire surface, focusing on areas prone to stains, such as the base and handles.
- Use a Brush for Crevices: For hard-to-reach spots and joints, use an old toothbrush or soft brush to scrub away grime.
This step should remove most surface dirt, but if you encounter stubborn spots, don’t worry—vinegar comes to the rescue.
Step 3: Remove Mineral Buildup with Vinegar
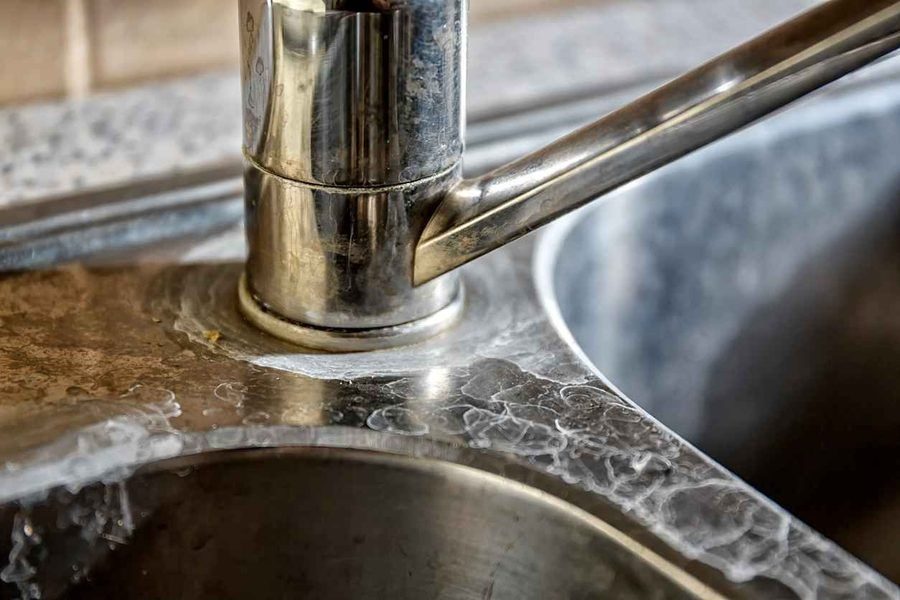
Mineral deposits, or limescale, are common around kitchen faucets, especially in areas with hard water. White vinegar is an excellent natural solution to dissolve these deposits.
- Soak a Cloth in Vinegar: Dampen a cloth with white vinegar and wrap it around the base and spout of the faucet. Let it sit for 15-30 minutes.
- Scrub Stubborn Deposits: Remove the cloth and gently scrub any remaining buildup with a soft brush or sponge.
- Rinse and Dry: Rinse the area with warm water and wipe it dry with a clean cloth.
For extremely stubborn limescale, consider using a paste made of baking soda and vinegar. Apply it to the affected area, let it sit for 10-15 minutes, and scrub gently.
Step 4: Clean the Aerator
The aerator is a small mesh screen at the end of the faucet spout that helps control water flow. Over time, it can become clogged with debris and mineral deposits, affecting water pressure.
- Unscrew the Aerator: Most aerators can be easily unscrewed by hand. If it’s stuck, use pliers wrapped in a cloth to prevent scratching.
- Soak in Vinegar: Place the aerator in a bowl of white vinegar and let it soak for 30 minutes to dissolve any buildup.
- Scrub and Rinse: Gently scrub the mesh with a toothbrush and rinse it under running water.
- Reassemble: Once clean, reattach the aerator to the faucet and check for smooth water flow.
Step 5: Polish the Faucet for a Sparkling Finish
To give your faucet a shiny, polished look:
- Rinse with Warm Water: Ensure all soap, vinegar, and cleaning residues are removed.
- Dry and Buff: Use a soft, dry cloth to wipe away excess moisture and buff the surface for a streak-free shine.
- Apply a Stainless Steel Cleaner (Optional): For stainless steel faucets, applying a dedicated cleaner can enhance the finish and protect against future stains.
Keep Your Faucet in Top Shape with Absolute Plumbing
For reliable faucet repair services, contact Absolute Plumbing today. Our team of professionals is ready to help with any plumbing issues, ensuring your kitchen stays in perfect working order.
Recent News
Electronic Descale Benefits for Flower Mound Homes: Pipe & Appliance Longevity
Summer Storm & Irrigation Impact on Flower Mound Drains & Sewer Lines
Slab Leak Symptoms Every Flower Mound Homeowner Should Recognize
Transparent Plumbing Quotes: Why Honesty Matters in Flower Mound, TX

Professional Inspection vs. The “DIY Eye”: What Homeowners Miss in the Spring
The Cost of Delay: How a Small Spring Leak Becomes a Summer Foundation Repair