Thank you for nominating us! We made the final round of Best of Denton County. Vote for us here
How to Repair a Leaky Outdoor Faucet
absolute plumbing Inc.
Back to Blog
How to Repair a Leaky Outdoor Faucet
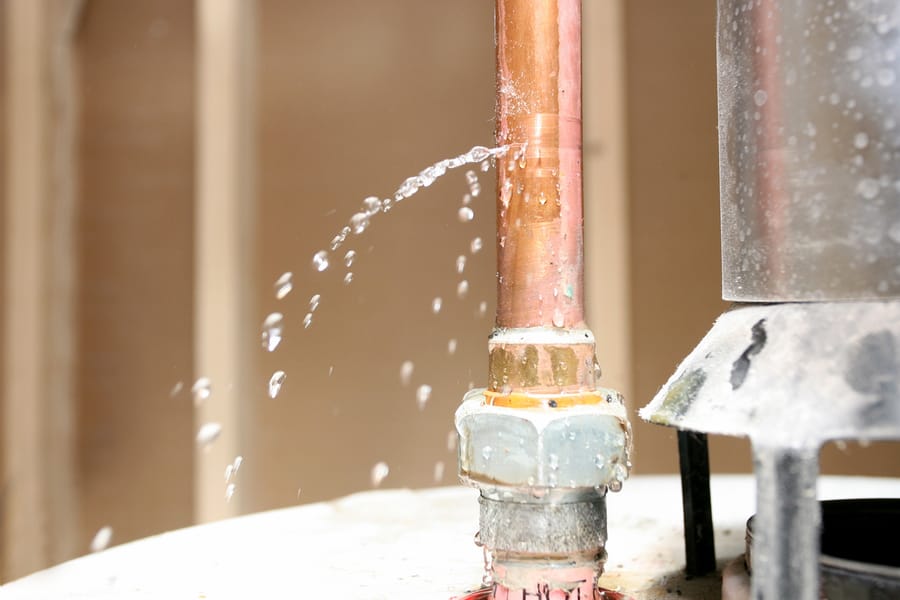
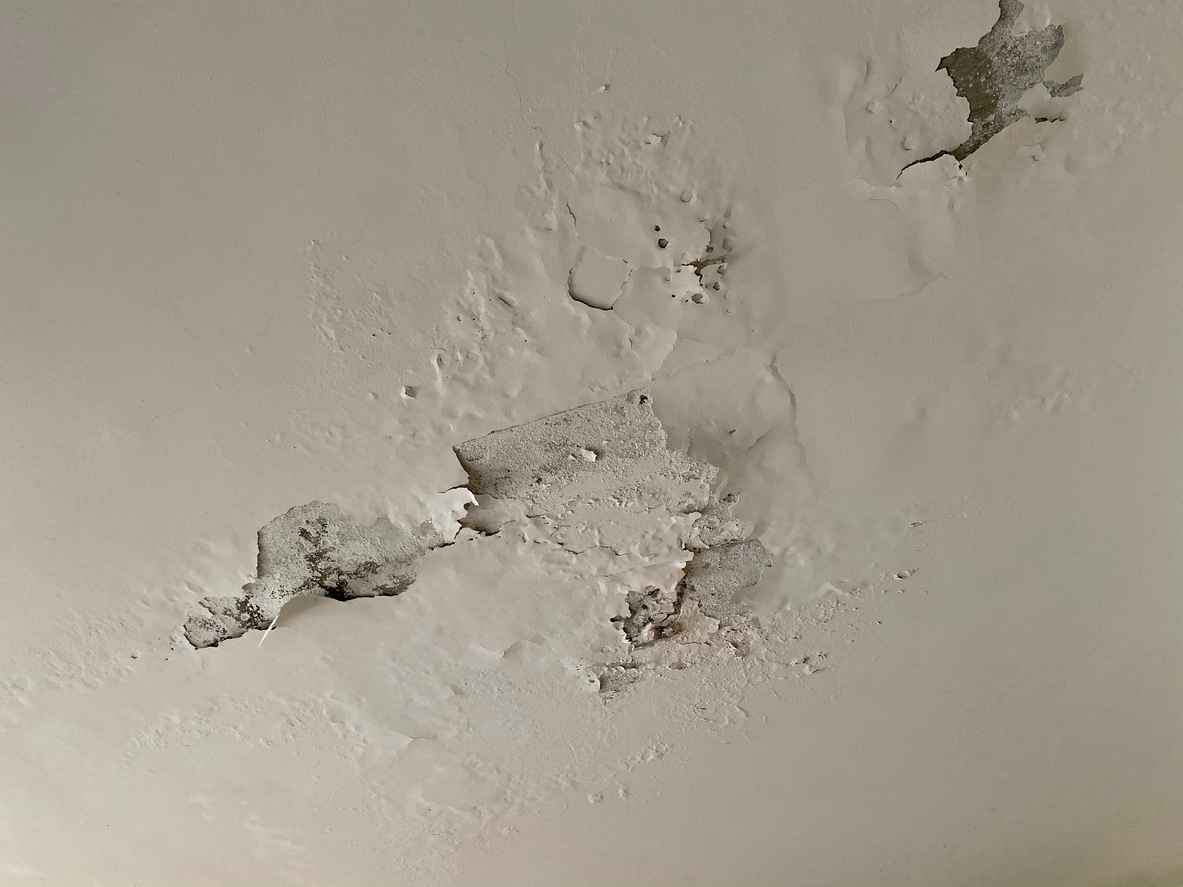
A leaky outdoor faucet not only wastes water but can also increase your utility bills and potentially lead to more significant plumbing issues if not addressed promptly. Fortunately, repairing a leaky outdoor faucet is often a straightforward DIY task that can save you the trouble and expense of calling a plumber. Here’s a detailed guide from Absolute Plumbing on how to repair a leaky outdoor faucet, ensuring your outdoor plumbing stays in top condition.
Identify the Problem
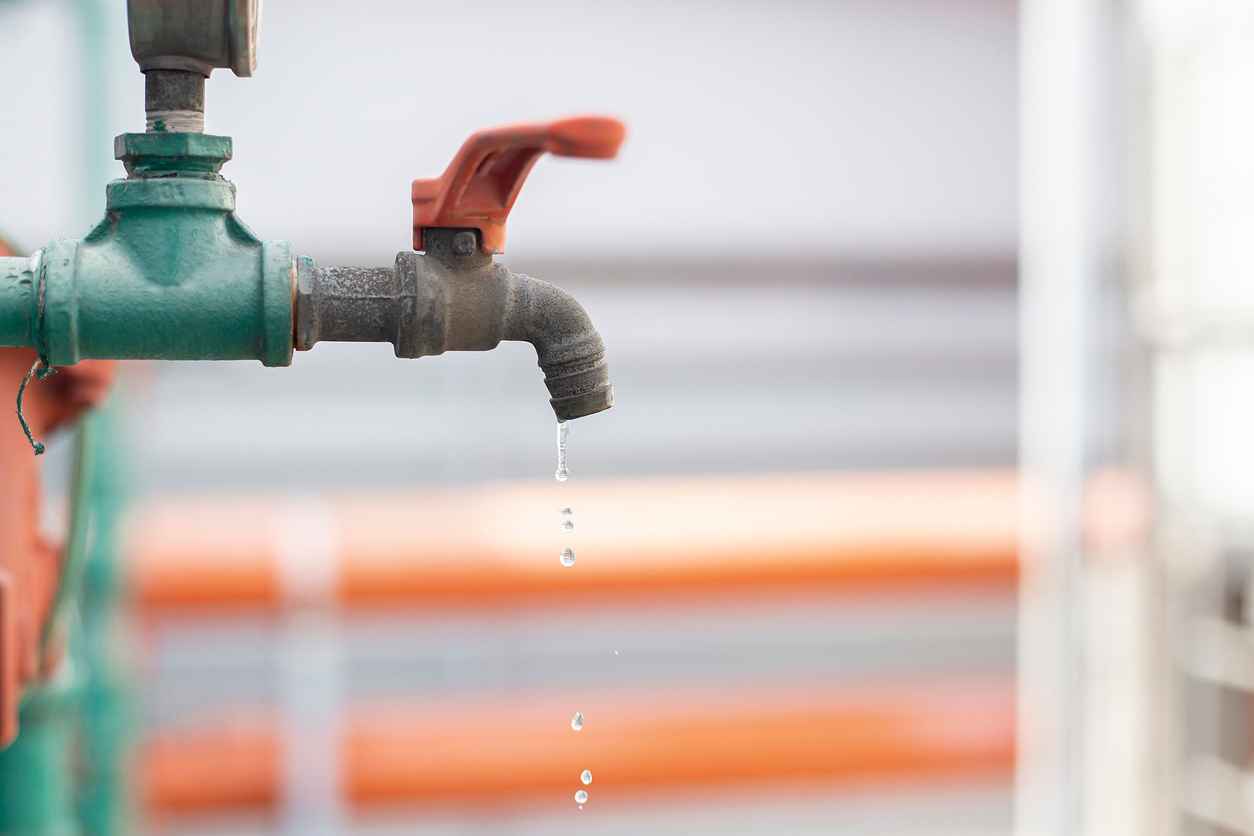
Before you can fix a leaky outdoor faucet, you need to identify where the leak is coming from. Typically, leaks occur at the spout or at the handle when the faucet is turned on. If the leak is at the spout, the issue is likely the washer. A leak from the handle usually indicates a problem with the packing nut or the O-ring.
Step-by-Step Guide to Fixing a Leaky Outdoor Faucet
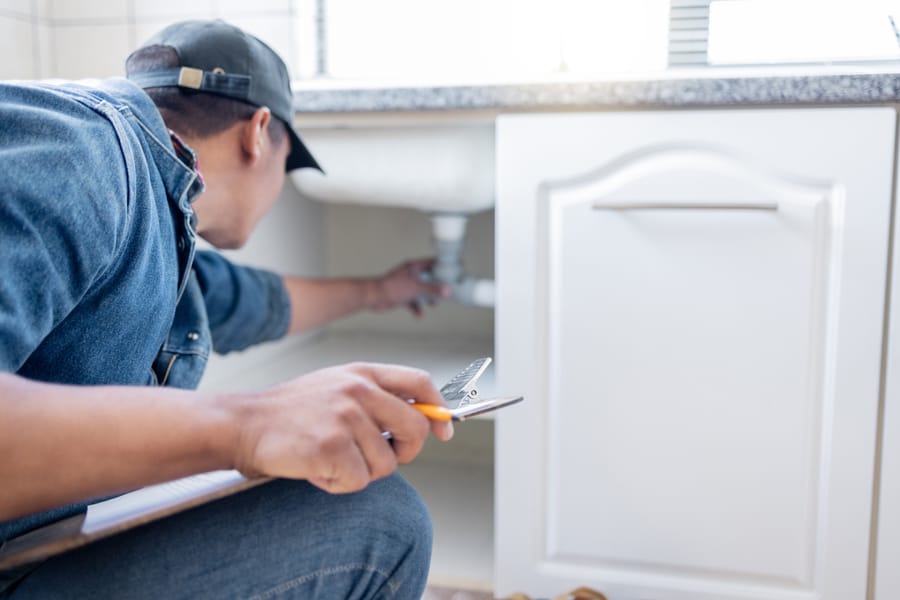
Step 1: Turn Off the Water Supply
Before beginning any repair, make sure to turn off the water supply to the faucet. This is usually done at a shutoff valve along the water line leading to the faucet.
Step 2: Remove the Handle
Use a screwdriver to remove the screw on the handle of the faucet. Once the screw is removed, pull off the handle. If it’s stuck, wiggle it gently or use pliers to help remove it.
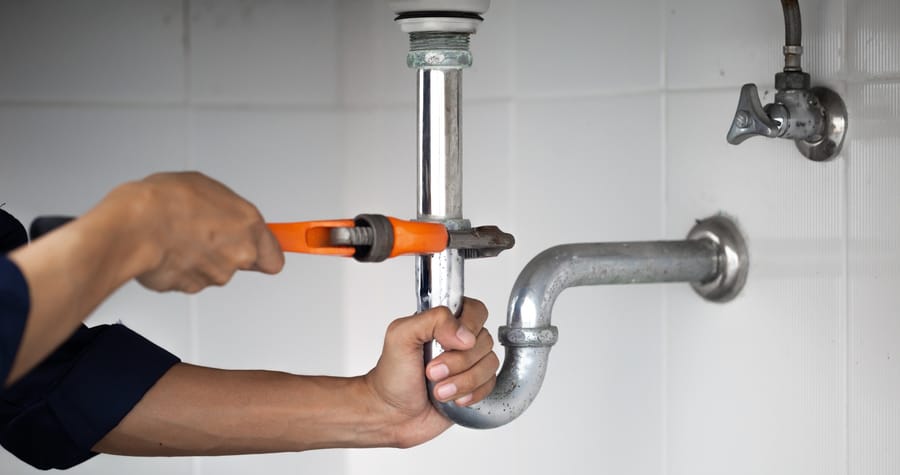
Step 3: Tighten the Packing Nut
If the leak is coming from the handle, first try tightening the packing nut with an adjustable wrench. If the leak persists, proceed to the next step.
Step 4: Replace the Washer or O-Ring
With the handle off, you’ll see a packing nut. Use your wrench to unscrew this nut and remove it. Behind the packing nut, you’ll find the stem, which contains the washer or O-ring. Remove the faulty washer and replace it with a new one. If the O-ring is damaged, replace it similarly.
Step 5: Reassemble the Faucet
Once the new washer or O-ring is in place, reassemble the faucet by replacing the packing nut, handle, and screw. Ensure everything is tight and secure.
Step 6: Check for Leaks
Turn the water supply back on and observe the faucet for any leaks. Open and close the faucet a few times to ensure it operates smoothly without leaking.
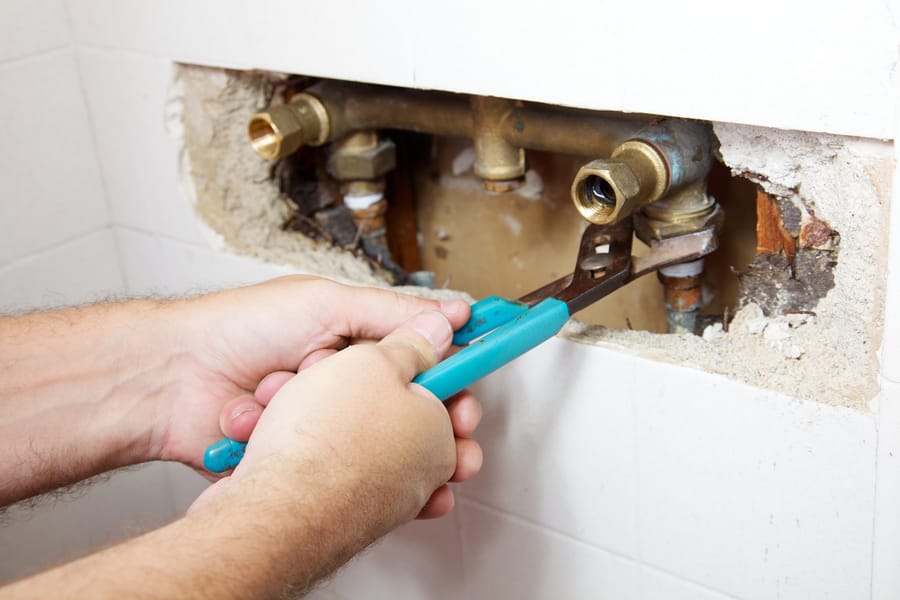
Step 7: Seal the Deal with Teflon Tape
If the leak is from the threads of the faucet, applying Teflon tape might be necessary. Wrap Teflon tape around the threads before reassembling to ensure a watertight seal.
Leak Repair in Flower Mound, TX
Repairing a leaky outdoor faucet is a manageable task that can be done without professional help. However, if you encounter complications or if the leak persists after your repair attempts, it might be time to call in the experts. Absolute Plumbing in Flower Mound, TX, is always ready to assist with all your plumbing needs. Contact us today!
Recent News
Electronic Descale Benefits for Flower Mound Homes: Pipe & Appliance Longevity
Summer Storm & Irrigation Impact on Flower Mound Drains & Sewer Lines
Slab Leak Symptoms Every Flower Mound Homeowner Should Recognize
Transparent Plumbing Quotes: Why Honesty Matters in Flower Mound, TX
Professional Inspection vs. The “DIY Eye”: What Homeowners Miss in the Spring
The Cost of Delay: How a Small Spring Leak Becomes a Summer Foundation Repair