absolute plumbing Inc.
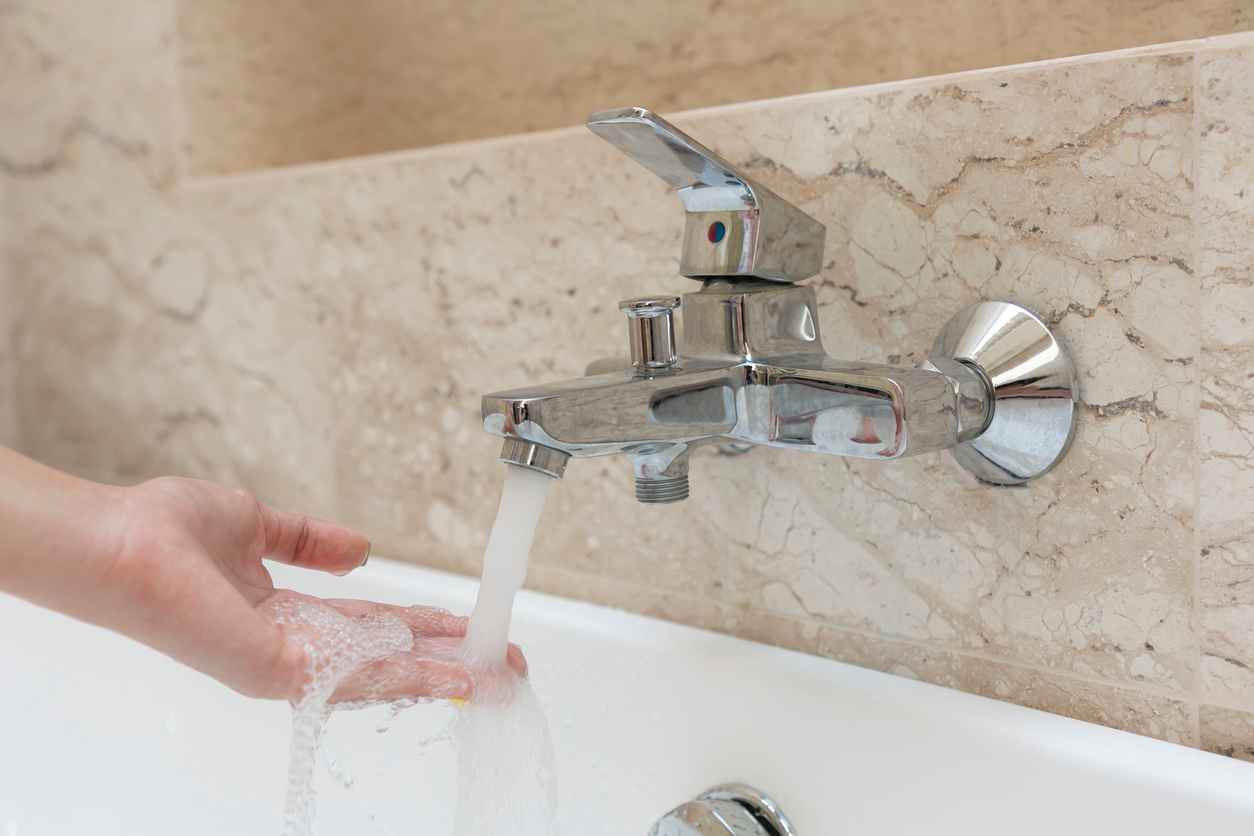
How to Fix a Leaky Bathtub Faucet
A leaky bathtub faucet can be more than a minor annoyance. The constant drip can waste gallons of water each day, increase your utility bills, and potentially lead to water damage if left untreated. Fortunately, fixing a leaky faucet is a manageable DIY project for most homeowners. Here’s a step-by-step guide to help you address the issue and restore your faucet to proper working condition.
Common Causes of a Leaky Bathtub Faucet
Understanding why your faucet is leaking is the first step to fixing the problem. Some common causes include:
- Worn-out Washers or Seals: Over time, the rubber washers or seals inside the faucet can wear down, causing leaks.
- Damaged Valve Seats: The valve seat connects the faucet to the water supply. Corrosion or damage to this component can lead to leaks.
- Loose or Worn Faucet Components: Screws, nuts, or other parts may loosen or degrade, preventing a watertight seal.
- Mineral Buildup: Hard water can leave mineral deposits that affect the faucet’s functionality, leading to leaks.
Once you’ve identified the cause, you can begin the repair process.
Guide to Fixing a Leaky Bathtub Faucet
Follow these steps to fix your leaky faucet:
Step 1: Turn Off the Water Supply
Locate the water shut-off valve for your bathtub and turn it off. If you can’t find it, you may need to shut off the main water supply to your home. Test the faucet to ensure no water is flowing before proceeding.
Step 2: Plug the Drain
Use a stopper or a rag to block the drain. This prevents small parts or screws from falling into the drain during the repair.
Step 3: Remove the Faucet Handle
Use a screwdriver to remove the handle. Depending on your faucet type, you may need to unscrew a decorative cap to access the screw. Once the handle is off, set it aside along with the screw.
Step 4: Inspect the Components
Carefully examine the faucet components for signs of wear or damage. Look for worn-out washers, corroded valve seats, or mineral buildup. Take note of any parts that need replacement.
Step 5: Replace the Washer of Cartridge
If the washer or cartridge is worn, replace it with a new one. Ensure the replacement part matches the size and type of your faucet. Use plumber’s tape on threads to create a secure seal when reassembling.
Step 6: Clean the Valve Seat
If mineral buildup is present, clean the valve seat with vinegar and a cloth. For stubborn deposits, you may need a brush or specialized cleaner.
Step 7: Reassemble the Faucet
Put the faucet back together by reattaching the handle and securing it with screws. Ensure all components are tightened properly but avoid over-tightening, which can cause damage.
Step 8: Turn the Water Supply Back On
Slowly turn the water supply back on and test the faucet. Check for leaks to ensure the repair was successful.
Fixture Repairs in Flower Mound, TX
If you’re dealing with a stubborn leak or prefer expert assistance, contact Absolute Plumbing for all your faucet needs. Our skilled team is ready to provide reliable solutions to keep your plumbing in top shape. Reach out today to schedule your service!
Recent News
Why North Texas Homes Experience More Pipe Leaks in Winter and Early Spring

Why Your Water Heater Struggles More During Winter in Flower Mound
How Soil Shifting in North Texas Impacts Sewer Lines and Drains
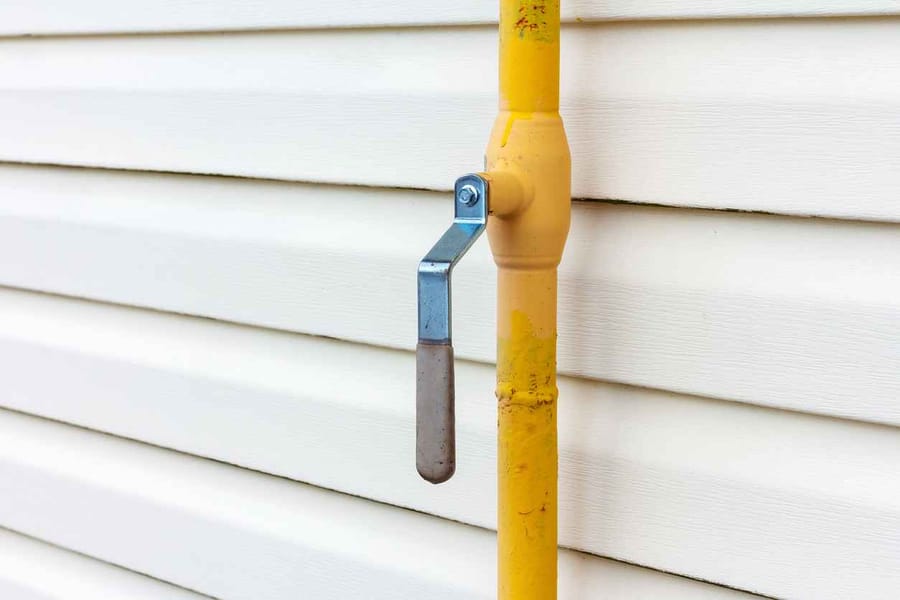
Gas Line Safety in Texas Homes: What to Do Before Cold Weather Arrives

Inside a Plumbing Inspection: What We Check and Why It Matters

Eco-Friendly Plumbing Upgrades That Save Money During the Colder Months
